
Among 145 lighting-product incidents with an identified failure source, bulbs accounted for 30% and wiring for 17%, so a dead recessed light isn't automatically a burned-out bulb. Start by checking whether other fixtures or receptacles on the same circuit are dead, then verify the breaker and nearby GFCI or AFCI devices before inspecting the lamp, switch, or fixture.
You walk into the kitchen at night, flip the switch, and one recessed light stays dark while the others come on normally. The ladder is nearby, and replacing the bulb feels like the obvious fix. Sometimes it works. Sometimes the actual fault is upstream, inside the fixture, or in a connection that shouldn't be disturbed without proper testing.
The safest approach is controlled isolation. Identify the scope of the failure first, confirm the circuit's condition, and only then decide whether you're dealing with a replaceable lamp, an integrated LED module, a switch, a connection, or a wiring problem.
Table of Contents
- Why This Is Happening Before You Reach for a Ladder
- Safety Precautions and Tools You Should Gather First
- How to Diagnose a Recessed Light That Stays Dark
- When Integrated LED Downlights Fail Before the Bulb Dies
- Simple Fixes Homeowners Can Perform Safely
- When to Call a Licensed Electrician Instead of Continuing
Why This Is Happening Before You Reach for a Ladder
Start at floor level. Turn the light switch off, then check the other recessed lights, nearby ceiling fixtures, and receptacles that may share the branch circuit. If several devices are dead, the problem is more likely to involve the breaker, a GFCI or AFCI device, a loose connection, or an upstream wiring fault than the individual lamp.
Next, go to the electrical panel and look for a breaker that has moved to a middle position or appears out of line with the others. Reset it only once, using the proper sequence recommended for the panel. Also check nearby GFCI receptacles, including those in kitchens, bathrooms, garages, exterior areas, and utility spaces. A tripped protective device can interrupt power to a lighting point that appears unrelated.
Practical rule: A breaker that trips again is reporting a problem, not asking for repeated resets.
The CPSC review of lighting-product incidents identified several different hazards and components involved in failures. Among the 145 incidents where the failure source was identified, bulbs represented 30% and wiring represented 17%. The broader review estimated an annual average of 8,780 residential structure fires associated with electric lighting products during 1995–1999, with approximately 310 civilian injuries, 40 deaths, and $119.2 million in property damage each year. Those figures cover electric lighting products generally, not recessed lights alone, but they explain why a dark fixture deserves more than a reflexive bulb change.
If the fixture flickers, smells hot, buzzes, trips the breaker, or shows browning around the trim, switch it off and leave the circuit de-energized. A useful related reference on what causes flickering lights in a house can help you distinguish a lighting symptom from a simple lamp failure.
A recessed light not working can involve the lamp, socket, switch, neutral, splice, driver, thermal protection, or the branch circuit. The safe path moves from broad checks to targeted diagnosis, not from one replacement part to another.
Safety Precautions and Tools You Should Gather First
Before removing a trim or opening a junction box, turn off the circuit breaker that supplies the fixture. The wall switch may interrupt the hot conductor, but faulty wiring can leave other conductors or connections energized. Treat the switch position as a control setting, not proof that the ceiling box is safe.
Gather the equipment before climbing:
- A stable insulated ladder: Place it on a dry, level surface, and don't work from a chair or unstable furniture.
- A properly rated two-pole voltage tester or multimeter: Test the instrument on a known energized source before and after checking the circuit.
- Insulated hand tools: Needle-nose pliers and screwdrivers help with accessible lamp and trim work, but insulation doesn't make energized work safe.
- Correct replacement parts: Match the lamp base, wattage, voltage, trim rating, connector, and fixture approval markings.
- Basic protective equipment: Safety glasses protect against dust and falling debris. Gloves can help with sharp metal edges, but they aren't a substitute for de-energizing and testing.

Don't use a tester with cracked insulation, damaged leads, or an uncertain rating. Avoid working in a damp area, and don't force a spring-clamp trim. Releasing the tension incorrectly can damage the trim, the housing, or your fingers.
Older homes deserve extra caution because insulation may be brittle and ceiling cavities can contain cramped, difficult-to-see connections. If you can't identify the correct breaker, can't access the junction box, or aren't comfortable proving the circuit is dead, stop and use a qualified electrician. A detailed home electrical inspection checklist can also help you document conditions before service.
How to Diagnose a Recessed Light That Stays Dark
Use a supply-to-load sequence. It prevents you from replacing a perfectly good lamp when the actual fault is a loose neutral or failed splice upstream.
Start with the circuit, then the control
Confirm whether the failure affects one fixture or several. Check the panel breaker and nearby GFCI or AFCI devices. If the breaker trips again after one reset, don't continue testing by cycling it. The CPSC guidance on investigating a tripped breaker explains that a trip can indicate an overload, short circuit, or malfunctioning product.
With the correct tester and appropriate electrical knowledge, verify voltage at the switch input and output. Then turn off the breaker, lock or mark it where practical, and verify the absence of voltage at the fixture junction box before opening or handling conductors. Testing only at the wall switch is a common mistake. The switch can have power while a loose neutral, failed splice, or open thermal protector leaves the luminaire dark.
Check the fixture without guessing
For a replaceable-lamp fitting, remove the lamp only after the circuit is proven dead. Check whether the lamp is loose, whether the base matches the socket, and whether the socket contacts show scorching, corrosion, or mechanical damage. A known-good lamp can help isolate a lamp failure, but don't use a higher-wattage lamp to force a result.
For an integrated LED fitting, look for the module connector, driver label, and junction-box connections. A thermal protector may interrupt the fixture after overheating and may reset after cooling, but repeated shutdown isn't a repair. It can indicate an overloaded housing, poor ventilation, an unsuitable dimmer, or a failing component.
The table below keeps each test tied to a decision rather than a guess.
| Test location | Expected condition | Likely cause when abnormal |
|---|---|---|
| Other fixtures or receptacles on the branch circuit | They operate normally or show the same outage pattern | Shared supply fault, protective-device trip, or upstream connection issue |
| Panel breaker and nearby GFCI or AFCI device | Breaker is fully set and protective devices are reset | Tripped protection, overload, short circuit, or malfunctioning product |
| Switch input | Voltage is present when the circuit is energized | No voltage suggests an upstream supply or connection fault |
| Switch output with the switch on | Voltage changes as the switch operates | Failed switch, loose terminal, or control wiring problem |
| Fixture junction box | Correct supply reaches the fixture | Open neutral, failed splice, damaged conductor, or fixture-side fault |
| Lamp socket or LED connector | Correct lamp or secure compatible connector is present | Failed lamp, poor contact, loose connector, or incompatible module |
For a more structured way to think about symptom, cause, and corrective action, this analysis for AI and software offers a useful failure-analysis framework that also applies to electrical troubleshooting. If you find a suspected short, stop before probing further and review how to find an electrical short in a house. Burning odor, discolored insulation, buzzing, inaccessible splices, or repeated trips require a qualified electrician.
When Integrated LED Downlights Fail Before the Bulb Dies
Integrated LED downlights change the repair decision. There may be no screw-in bulb to replace, and the visible LED emitters may still be healthy even when the fixture won't start. The driver, connector, thermal interface, control circuit, or internal protection can prevent the light from operating.
Published LED life also needs careful interpretation. The U.S. Department of Energy describes useful life through lumen maintenance, including L70, the point at which light output has declined to 70% of its initial level. In a DOE study of LED packages, 96% of measured luminous-flux values had an L70 of nearly 60,000 hours or longer, which is about 6.8 years of continuous operation or roughly 20.5 years at 8 hours per day, but that optical-life measure doesn't promise that the entire fixture will remain electrically functional. The DOE explanation of LED lumen and chromaticity maintenance distinguishes declining light output from conventional electrical failure.
Read the symptom before replacing the module
A downlight that flickers only at certain dimmer positions may have a compatibility problem, an unsuitable low-end trim setting, or insufficient driver holding current. If it flickers or shuts down at full output with stable supply voltage, the driver or thermal protection becomes more suspect.
A light that works when cold and goes dark after warming deserves particular attention. Record what happens at startup and after the fixture has been operating, but don't defeat the thermal protection to keep it running. A field-reliability summary related to DOE CALiPER work reports that more than 70% of tested LED-luminaire failures were attributed to the driver, although that figure is a study-specific benchmark, not a universal failure rate. The discussion of serviceable downlight design and driver failures explains why the driver deserves attention.
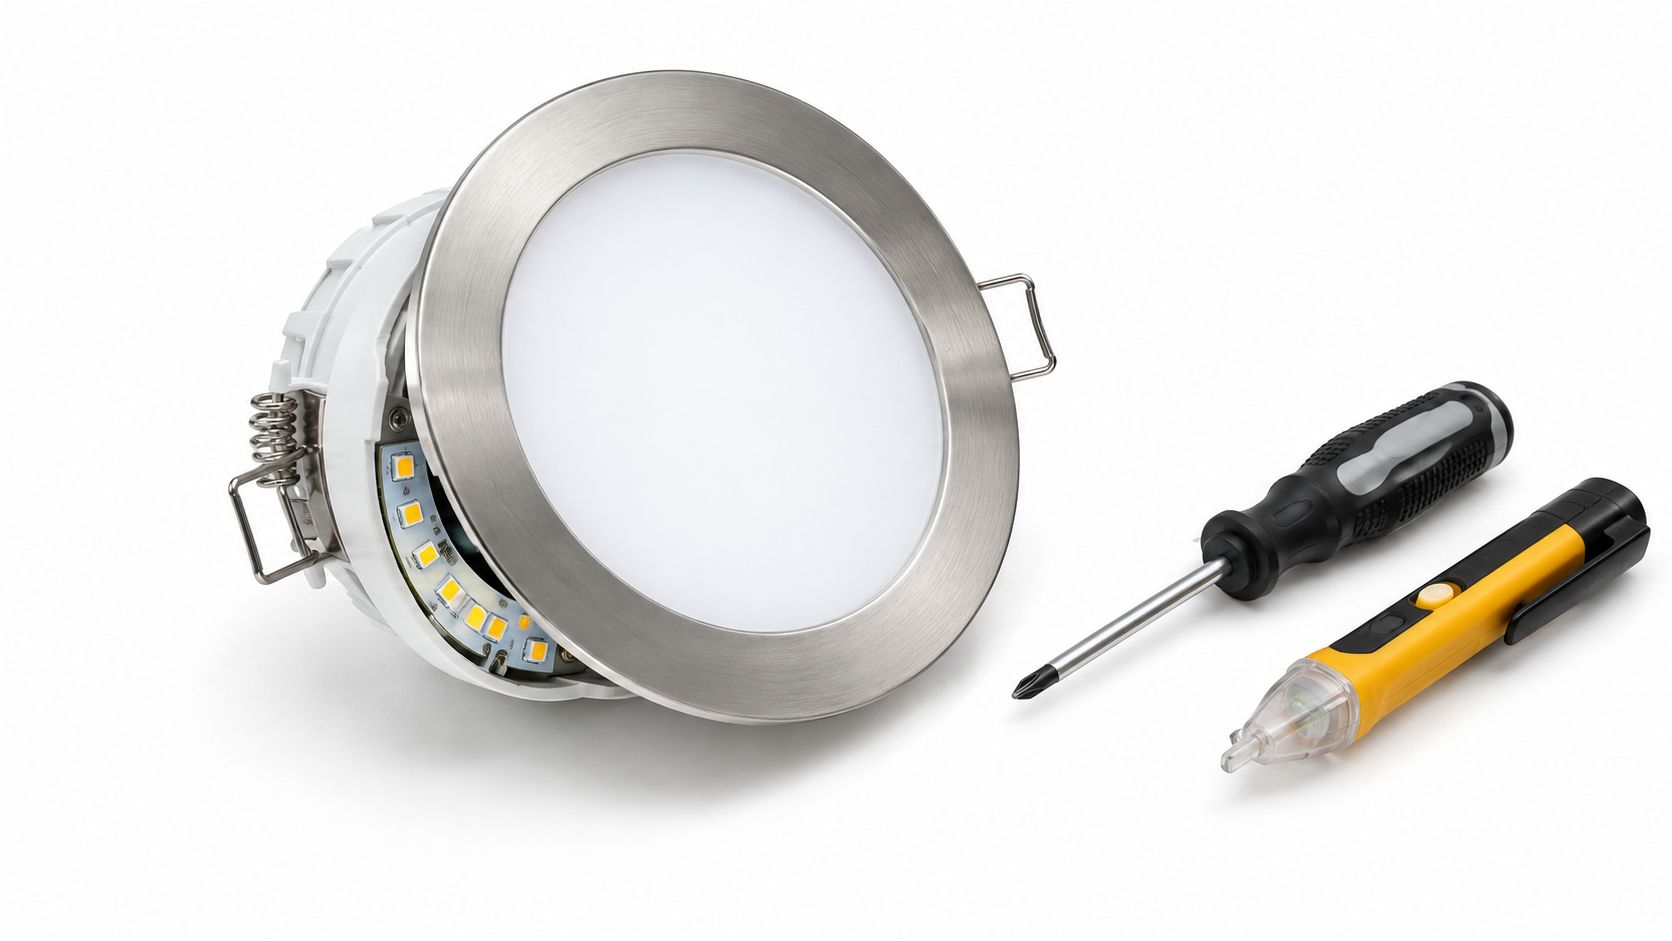
Before buying a replacement, record the fixture and driver model. Match the input voltage, wattage, connector, IC or air-contact rating, and wet-location suitability. A driver with a similar-looking output label isn't automatically compatible, and bypassing a thermal cutoff can create an overheating hazard.
Replacing the complete module is often safer than component-level improvisation, particularly when the manufacturer specifies a sealed assembly. Property managers and service teams can also use the same symptom-based documentation when planning broader lighting maintenance or when they advertise seasonal lighting services, where fixture compatibility and safe circuit loading still matter.
Simple Fixes Homeowners Can Perform Safely
Homeowner repairs should stay on the accessible, de-energized side of the fixture. If the work exposes a junction, damaged conductor, or uncertain connection, it has moved beyond a simple lamp or trim replacement.
| Situation | Reasonable homeowner action | Stop and call a professional when |
|---|---|---|
| Replaceable lamp is dark | Install a correctly matched lamp with the proper base, voltage, wattage, and approved trim rating | The socket is scorched, loose, corroded beyond cleaning, or mechanically damaged |
| Lamp works intermittently | Turn off the breaker, remove the lamp, and inspect for poor seating or visible socket corrosion | The fitting remains intermittent or the contact needs reshaping |
| Trim or gasket is damaged | Replace it with a part made for the same housing and location rating | The replacement doesn't fit without forcing clips, springs, or seals |
| Light behaves strangely with dimming | Check the luminaire's compatibility list before changing the control | The dimmer wiring is exposed, the circuit trips, or compatibility remains uncertain |
| Integrated LED module is dark | Record the model and use the manufacturer's approved replacement procedure | The driver, junction box, thermal protection, or wiring must be opened or altered |
For a corroded socket, turn off the breaker, verify the circuit is dead, remove the lamp, and clean only light surface contamination with an appropriate dry method. Don't scrape aggressively, bend energized contacts, spray liquid into the fitting, or reinstall a lamp if the socket has heat damage.
Never bypass a thermal cutoff, substitute a driver because its output voltage merely appears similar, or install a lamp above the housing's rating. Those shortcuts may restore illumination temporarily while removing the protection that limits heat. A correct replacement that fits the housing and its electrical ratings works better than a forced part that only looks compatible.
When to Call a Licensed Electrician Instead of Continuing
Stop troubleshooting and arrange professional service if you find heat-damaged conductors, a burning smell, buzzing, blackened insulation, a failed splice, or a breaker that trips again after one reset. These conditions can indicate an overload, short circuit, poor termination, damaged insulation, or a failing fixture. Repeatedly resetting the breaker is unsafe because it can keep a fault energized and increase fire or shock risk.
Use a controlled isolation sequence before making that call. Turn the switch off, switch off the suspected breaker, verify the circuit is dead with an appropriate tester, and determine whether the fault follows the supply or stays with the fixture. If the breaker trips with the light disconnected, the problem is likely in the circuit. If power reaches the fixture but the light remains dark, fixture failure becomes more likely. Stop immediately if the circuit cannot be isolated or verified.
Compare the risk, not just the part cost
Call a licensed electrician when the fixture is inaccessible, breaker labels are unreliable, wiring is exposed, or the system combines older housings with newer controls or integrated LED equipment. Guessing at a driver or moving conductors between incompatible parts can create another fault.
Professional service is also the right choice when darkness affects a stairway, exit route, occupied commercial area, or another location where visibility is a safety concern. An electrician can test voltage under load, trace an open neutral, assess the branch circuit, and complete a code-compliant repair.
If your recessed light remains dark after these checks, Lighthouse Energy Services provides licensed electrical service across Palm Beach County, 24/7. Call to schedule an evaluation and request a transparent, no-surprise quote.